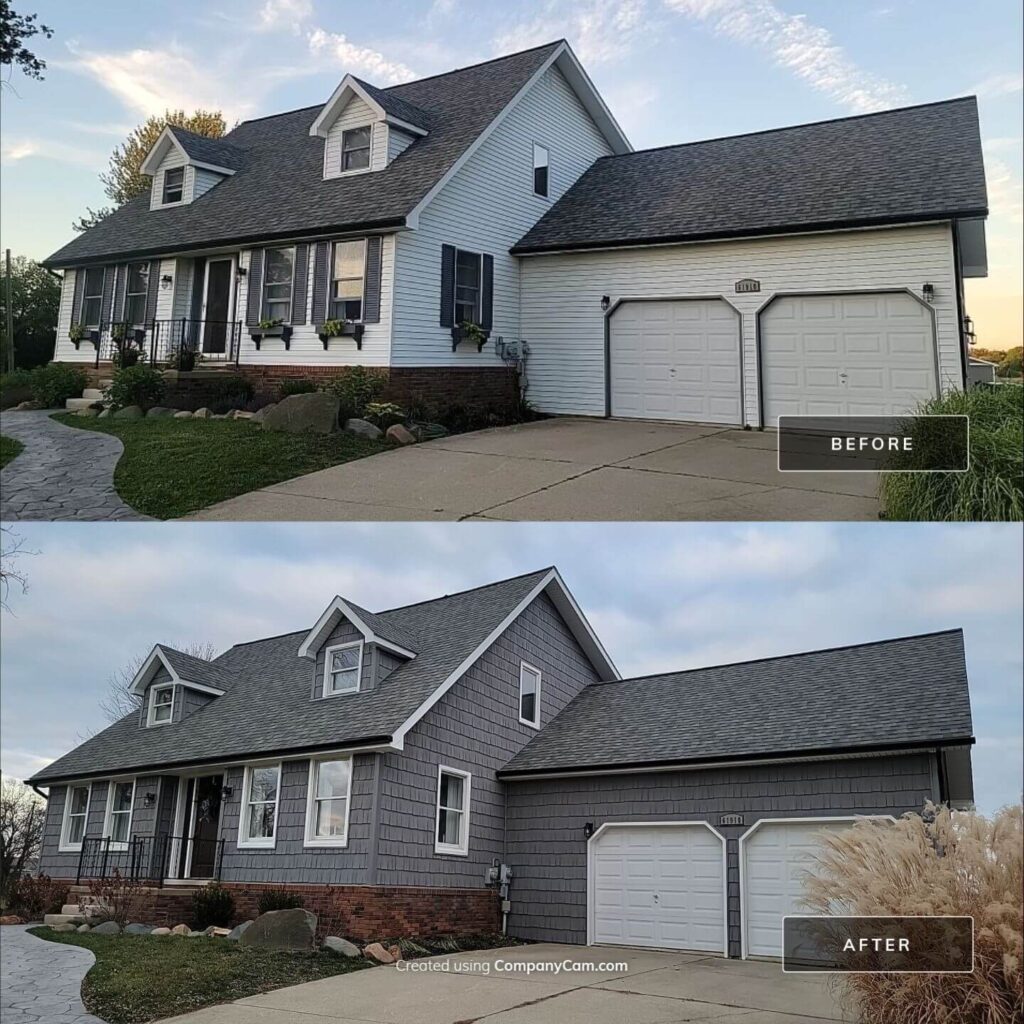
According to HouseLogic, 63% of homeowners who tried DIY home improvement projects regretted not hiring a professional, mainly due to poor workmanship and unexpected costs. Additionally, the National Association of Realtors found that 35% of DIYers ended up hiring a professional to redo the work, which led to higher overall expenses.
That said, we don’t think DIY is impossible! We’ve seen fantastic results from homeowners who put in the research and dedicated the time needed to create beautiful siding projects. DIY can save money if done right, but it requires careful planning and extra time. That’s why we’ve outlined what NOT to do in both DIY and professional scenarios to help you avoid regrets and keep your home—your most important asset—looking its best.

DIY Siding Installation: Mistakes You Don’t Want to Make
Forget About the Weather Barrier
- Want a quick and easy job? Skip that pesky weather-resistant barrier! Who needs extra protection from moisture, right? Sure, you might get some mould, mildew, or even structural damage, but hey, it’s faster without it.
- Reality Check: Always install a weather barrier like house wrap or felt paper. It’ll keep moisture out and save you a headache down the line.
Just Wing It with the Nails
- Why bother with the right nailing technique? Go ahead and hammer those nails too tight or at an angle – what could go wrong? Loose, warped, or buckled siding might be “unique”!
- Reality Check: Use corrosion-resistant nails and follow the proper technique. Nail in the center of the slots, leave a tiny gap and don’t hammer them too tight.
Skip Those Expansion Gaps
- Who needs expansion gaps? Just jam the siding in there; it’s not like materials expand and contract with temperature changes…right?
- Reality Check: Leave proper expansion gaps around windows, doors, and between panels. Siding needs room to breathe, or you’ll be dealing with buckling and warping.
Install Over a Dirty, Uneven Surface
- Why clean or smooth the wall first? Just slap that siding on! Dirt and uneven surfaces can add “texture” and “character” to the siding.
- Reality Check: Make sure the wall is clean, dry, and level. Remove old siding, nails, or debris and repair any damage.
Forget Flashing Around Windows and Doors
- Flashing? Extra work. Who needs to direct water away from windows and doors anyway? A little water infiltration never hurt anyone.
- Reality Check: Install flashing carefully around openings. This is what prevents leaks and water damage.
Hiring a Professional? Here’s What Not to Overlook
If you’re hiring a pro, here’s what to definitely check, or risk facing subpar work.
Forget About Licensing and Insurance
- Why worry about licenses and insurance? Just trust your contractor! It’s not like you could be held liable if something goes wrong.
- Reality Check: Always confirm that contractors have a valid business license and liability insurance. In British Columbia, it’s non-negotiable.
Skip Checking Their Experience and References
- No need to ask about past work or check references. Who cares if they’ve installed siding before?
- Reality Check: Choose a contractor with a solid track record. Ask for references and review their past projects to make sure they know what they’re doing.
Don’t Worry About Contracts or Warranties
- Who needs a detailed contract? Just a handshake will do, right? And warranties? Overrated.
- Reality Check: Ensure your contract covers all details, including scope, materials, timeline, and costs. Make sure they offer a warranty on their work and materials.
Ignore Their Communication Style
- Why worry about communication? It’s not like you need to know what’s going on or that they’ll be responsive.
- Reality Check: Clear communication is key. If they’re dismissive or hard to reach, that’s a red flag.
Only Get One Quote
- Don’t bother comparing quotes. Go with the first offer, even if it’s way below market rate. Cheaper is better, right?
- Reality Check: Get at least three quotes to compare pricing and scope. Lowball offers often mean low-quality work.
Post-Installation Checklist: What NOT to Overlook
Now that your siding’s installed, don’t forget to inspect it! Here’s a checklist of things to look out for:
✅ Even Alignment: Panels should be straight and level. Wavy siding? Not a good sign.
✅ Secure Attachment: The siding should be attached firmly, but not so tight that it can’t move a little.
✅ Proper Sealing: All edges and openings should be sealed to keep out moisture.
✅ Clean Worksite: The area should be spotless, with no debris left behind.
✅ Manufacturer Compliance: Make sure installation follows the manufacturer’s guidelines to keep your warranty valid.
Follow these tips to avoid a siding project you’ll regret. Whether DIY or with a pro, these pointers will help keep your home looking great and ensure your siding lasts for years!


